
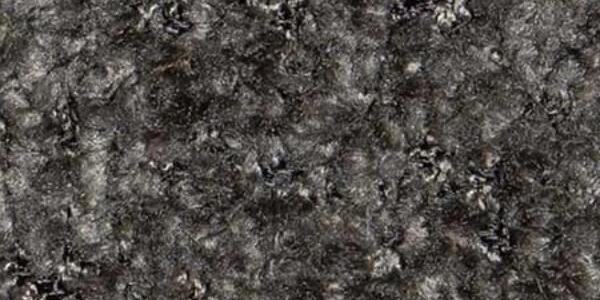
Learning how to make cushion covers with a zip is the single best upgrade for a family sofa. Fall is when everyone piles onto the couch, the dog claims the reading nook, and the holidays loom. A zipper means you can pull covers off for washing or swap them for a seasonal color in about thirty seconds. Heavy upholstery fabric just needs a few adjustments that lightweight cotton tutorials skip.
This guide covers choosing the right zipper, cutting your panels, and installing three styles: centered, lapped, and hidden along the back welt of a boxed cushion. You'll also get the sizing math for a snug fit over foam.
What Zipper Length and Weight Works for Thick Upholstery Fabric?
Use a #5 coil zipper for lightweight throw pillows and a #8 or #10 for boxed seat cushions in thick fabric. Choose a length at least as long as the cushion's width, and go 2 to 4 inches longer for boxed cushions so the opening wraps around the corners.
Here's the thing: the zipper has to survive foam being shoved through it. Polyester coil zippers are the practical pick because they flex around corners, resist rust, and survive the washing machine. Metal teeth look sharp but can snag and bite into fabric when you're wrestling a stiff insert. Buying zipper tape by the yard with separate pulls lets you cut an exact length, which is handy for odd cushion sizes.
Gear matters too. Use a 100/16 or 110/18 needle, bonded polyester thread (size 69 or heavier), and a zipper foot. A walking foot is a huge help on velvet and chenille because it feeds both layers evenly instead of letting the top one creep.
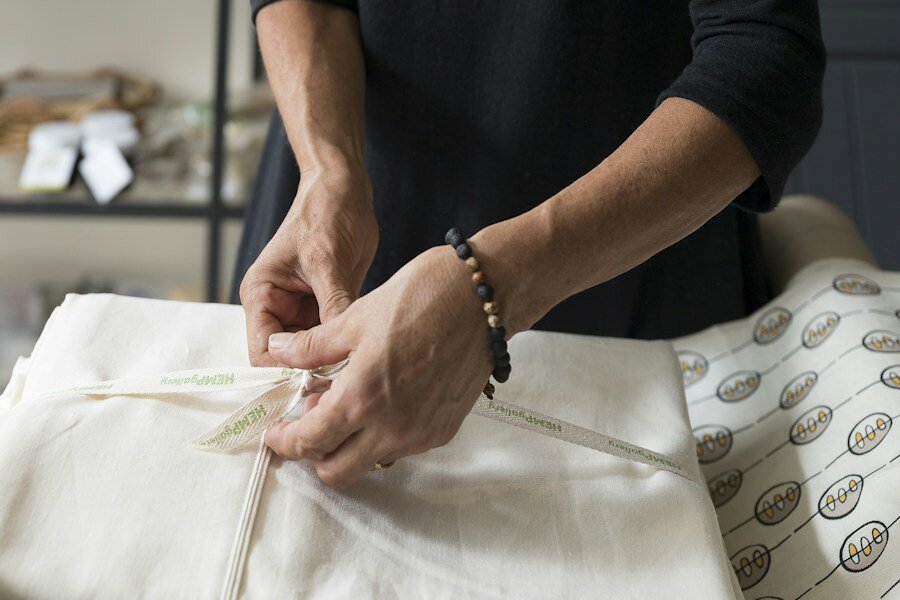
Photo by Nicole Parker on Unsplash
Why Does Upholstery Fabric Need a Longer Zipper Opening Than Quilting Cotton?
Upholstery fabric is thicker, stiffer, and woven more densely, so it won't compress to squeeze a foam insert through a short opening. A longer opening, usually the full width of the cushion plus a bit around each corner, lets the foam slide in without stressing seams or the zipper.
Quilting cotton is thin enough to stretch and fold around a pillow form. Upholstery fabric rated at 15,000 or more double rubs on the Wyzenbeek abrasion test (the standard measure of how many back-and-forth rubs a fabric survives before wearing) has far more body. Foam is also less forgiving than polyfill. If you shortcut the zipper, you'll end up with strained teeth, popped stitching, and a cushion you dread re-covering. Honestly, a zipper that's too short is the number one reason heavy covers fail.
Step-by-Step Instructions
- Measure the foam and decide your finished size. Measure the width, depth, and thickness of the insert. Cut the finished cover 1/2 to 1 inch smaller than the foam in width and depth. That compression is what gives you a tailored, snug look instead of a droopy sack. Use the smaller reduction for soft foam and the larger one for firm high-density foam. Add a 1/2 inch seam allowance on every edge.
- Choose your zipper and prep your tools. Pick a coil zipper per the guidance above. Load a heavy needle, set your stitch length to 3 to 4 mm, and fit your zipper foot. Test on a scrap folded to the same thickness as your seam, because your machine needs to prove it can handle the bulk before you commit to the real panels.
- Cut your panels. For a flat knife-edge cushion, cut one front panel and two back panels that overlap or meet at the zipper. For a boxed cushion, cut a top, a bottom, a long boxing strip for the front and sides, and a separate zipper strip for the back. Make the zipper strip as wide as the zipper tape plus 1 inch for seam allowances. Mark the nap direction on velvet or chenille so every panel runs the same way.
- Finish the edges and reduce bulk. Serge or zigzag every raw edge now. Upholstery weaves fray quickly, and finishing before sewing is far easier than after. Trim seam allowances at the zipper ends to 3/8 inch and taper corners where possible, since stacked layers of thick fabric create lumps that fight the zipper foot.
- Install a centered zipper (best for simple pillow-style cushions). Place the two back panels right sides together and sew the seam at 1/2 inch, using a long basting stitch where the zipper will sit and a regular stitch at each end. Press the seam open, lay the zipper face down over the basted section, and pin it. Flip the piece over, topstitch 1/4 to 3/8 inch from the seam on each side with your zipper foot, then remove the basting stitches. Wider topstitching spacing suits thick fabric because it keeps the foot from riding up the edge.
- Install a lapped zipper (best for a cleaner, more upscale look). Baste the back seam closed as above and press it open. Fold the seam allowance on one side back, position the zipper teeth right at the fold, and stitch close to the teeth. Turn the zipper face up and let the opposite panel overlap the teeth by about 3/8 inch. Topstitch through all layers. The overlap hides the teeth, so only one neat stitching line shows. It takes a few more minutes, but it hides coil gaps beautifully on dark colors.
- Install a hidden zipper along a boxed cushion's back welt. Welt is the corded piping that outlines a boxed cushion. Sew the zipper to the two halves of your split back boxing strip, with the teeth tucked slightly behind a folded edge so they disappear into the seam. Baste your welt cord to the top panel, then sew the zipper strip to it with the cord sandwiched in the seam. The result is a zipper that sits in the shadow of the welt and is nearly invisible from the front. Skip a true invisible zipper here. Standard invisible zippers are too light for dense foam and thick fabric.
- Assemble the cover. Open the zipper at least halfway before you sew the remaining seams. This is the step people forget, and it leaves you unable to turn the cover right side out. Sew the boxing strip to the top panel, then the bottom, pivoting at the corners and clipping the seam allowances so they lie flat. Backstitch over the zipper ends for strength.
- Turn, fit, and fine-tune. Turn the cover right side out and push the corners out with a blunt tool. Wrap the foam in a thin layer of batting or slip it into a clean plastic bag to glide it through the opening, then zip it up and remove the bag. Seams should feel taut, and the corners should look full. If the cover looks baggy, take a slightly deeper seam allowance next time.
How Do You Handle Bulky Seam Allowances?
Grade the layers, which means trimming each seam allowance to a slightly different width, so the thickest edge isn't stacked directly on top of the others. Then press with a clapper or a wooden spoon to flatten seams without scorching the fabric.
Where several seams meet, such as at the zipper ends and welt corners, cut diagonal notches and trim away the extra. Hammering the seam gently with a rubber mallet flattens stubborn lumps in dense weaves. And if your machine hesitates over a thick area, turn the handwheel manually for those few stitches instead of forcing it. Your needles will thank you. A broken needle on a $40 yard of fabric is a very expensive "oops."
Which Upholstery Fabrics Work Best for Removable Cushion Covers?
Tight weaves and mid-weight textures behave best. Look for fabric rated at 30,000 or more double rubs if pets or kids use the cushion daily, since heavy-duty upholstery generally starts around 15,000 and runs much higher for commercial grades.
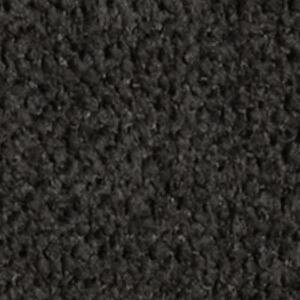
A grey woven upholstery fabric hides pet hair and dirt, sews predictably, and resists fraying better than loose textures. Boucle upholstery fabrics are the cozy texture of the moment for reading nooks, though their looped surface needs a longer stitch length and a bit more patience at the corners. For a plush feel with easy handling, velvet upholstery fabrics work well if you keep the nap direction consistent. Velvet gets a bad rap for being fussy, but a walking foot tames it. Here are a few picks to get you started.
Shop All Upholstery Fabrics
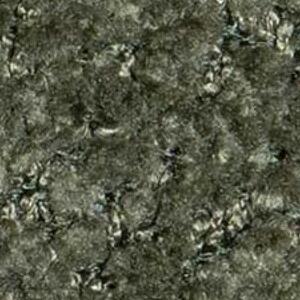
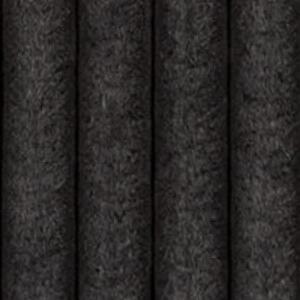
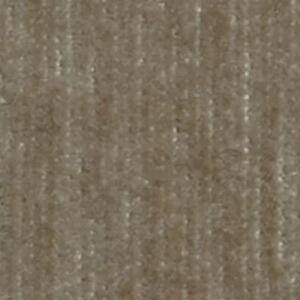
Working to a budget? Browse the upholstery fabric sale for ends of rolls that are plenty big for a set of cushion covers. A single boxed seat cushion typically needs about 1 to 1.5 yards depending on size.
Tips for Cushion Covers That Last
- Pre-wash if you plan to wash the cover. Machine wash a scrap first. Many heavy fabrics shrink or lose their hand, so spot-clean or dry-clean ones that react badly.
- Use a zipper pull you can grab. Chunky pulls make it easy for kids and guests to open the cover without damaging the tape.
- Make two sets. Sew a neutral set for daily use and a festive set for the holidays. Swapping takes minutes, and the foam stays put.
- Keep the zipper facing the back or bottom. It protects the teeth from wear and keeps the front looking seamless.
- Stitch a little extra at stress points. Add a second line of stitching at the zipper ends and corners. Those spots take the most abuse.
Frequently Asked Questions
Q: How long should a zipper be for a cushion cover?
A zipper should be at least as long as the cushion's width, and 2 to 4 inches longer for a thick boxed cushion. The extra length lets the opening wrap around the corners so the foam slides in without straining the seams.
Q: Can you use an invisible zipper on upholstery fabric?
You can use one on a lightweight throw pillow, but it's not recommended for heavy cushions with foam inserts. Invisible zippers are thin and can split under pressure. A coil zipper hidden under a lapped seam or welt is far more durable and just as discreet.
Q: How much smaller should a cushion cover be than the foam?
Cut the finished cover 1/2 to 1 inch smaller than the foam in both width and depth. This slight compression gives a snug, tailored fit and keeps the corners full instead of floppy.