
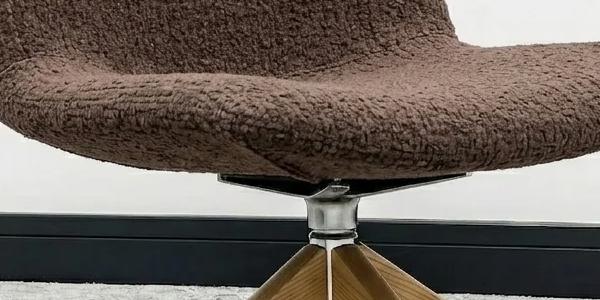
Reupholstering a wingback chair is a bigger job than swapping out a dining seat pad, but it's a lot more approachable than people think once you break it into stages. This guide covers the whole process: stripping the old fabric, working around wings and rolled arms without puckers, cutting and stapling curved panels, and finishing everything off with double-welt trim so the seams look tailored instead of homemade. Grab a staple gun, a seam ripper, and maybe a coffee. This one takes a weekend, not an afternoon.
What Fabric Is Best for Reupholstering a Wingback Chair?
For a wingback or club chair that sees daily use, look for upholstery-weight fabric rated at least 15,000 double rubs on the Wyzenbeek abrasion test, or roughly 30,000 cycles on the Martindale abrasion test. Chenille, boucle, and performance velvet all tend to land comfortably in that range, which makes them solid picks for chairs that get sat on by kids, guests, and the family dog.
Honestly, chenille is criminally underrated for a piece like this. It hides crumbs and pet hair between cleanings, it has enough body to hold a crisp seam over a rolled arm, and it drapes well enough to handle the tight curves around a wing without going stiff or bubbling. If you want something with more sheen for a living room refresh, a solution-dyed velvet resists fading near windows better than a standard piece-dyed version. Either way, check the cleaning code on the bolt. A code "S" fabric needs a solvent-based cleaner, while "W" or "WS" fabrics can handle water-based spot cleaning, which matters a lot if you've got kids or pets using the chair daily.
How Much Fabric Do You Need for a Club Chair?
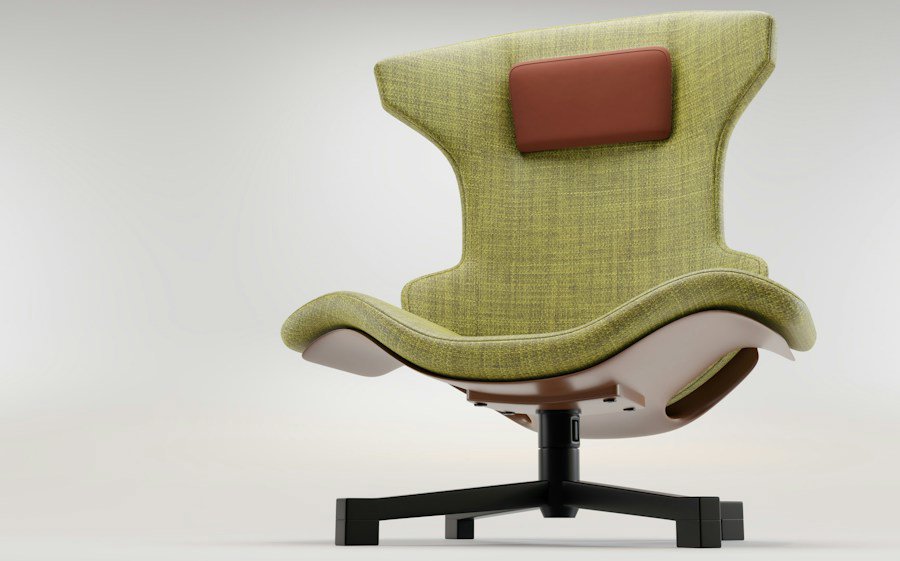
Most wingback chairs need 6 to 8 yards of 54-inch-wide fabric, while a simpler club chair without wings usually runs 5 to 6 yards. Add extra if you're working with a large pattern repeat, since matching a floral or stripe across the wings and arms eats yardage fast.
Textured solids and small-scale patterns like boucle upholstery fabric are more forgiving here because there's no repeat to line up panel to panel. If you're shopping on a budget, it's worth checking a discounted upholstery fabric selection first, since chair projects use enough yardage that even a small per-yard savings adds up.
Step-by-Step Instructions
- Photograph and strip the old fabric. Before you pull a single staple, photograph every panel from the front, back, and side. Then remove staples with a flathead screwdriver and pliers, working panel by panel and labeling each piece as you go (inside back, outer arm, wing, seat deck). These become your cutting templates later.
- Inspect the frame and padding. Check the wood joints for wobble, tighten any loose screws, and press on the foam to check for compression or crumbling. Fall is a good time for this step since a lot of chairs get pulled out of storage or repositioned near a fireplace for cozy-season seating, and that's when hidden frame damage tends to show up.
- Replace webbing or foam if needed. If the seat sags or the foam has gone flat and yellow, now's the time to swap it. High-density foam (1.8 lb density or higher) holds its shape far longer than the low-density foam found in many older production chairs.
- Cut new panels using the old fabric as a template. Lay each stripped piece on your new fabric, matching grain direction, and add a half-inch to one inch of extra allowance around curves for adjustment room. Pin and cut one panel at a time rather than all at once, since chairs are rarely perfectly symmetrical.
- Staple the inside back panel first. Center the panel and staple from the middle outward toward each edge, alternating sides as you pull the fabric taut. Working from center-out prevents the fabric from shifting off-grain, which is the number one cause of diagonal wrinkles on a finished inside back.
- Work the wings and rolled arms. This is the trickiest part of the whole project. Clip small notches into the fabric's seam allowance around inside curves (never on outside curves) so the fabric lies flat without bunching, then pull and staple in small sections, checking for smoothness every two or three staples. Rolled arms need the same treatment where the roll meets the inside arm panel; work slowly here and don't rush the curve.
- Attach the outer back and outer arm panels. Fold the raw edge under for a clean finish, then blind-stitch or staple it in place along the seam line, hiding the staple line under the fold. This is where a stiffer fabric like a woven or a heavier chenille really earns its keep, since it holds a fold line better than a loose, drapey fabric.
- Make and attach double-welt trim. Cut fabric strips on the bias (at a 45-degree angle) for flexibility around curves, then sew two cords of welting side by side to create the double-welt look. Glue or staple the trim over every raw seam and staple line, which is what gives a reupholstered chair that finished, tailored appearance instead of a "homemade" one.
- Steam and inspect. Give the whole chair a light steam to relax any stray wrinkles, then check every seam from a few feet back. Small imperfections up close often disappear entirely once you step back and look at the chair as a whole.
Choosing Between Durable and Decorative Fabrics
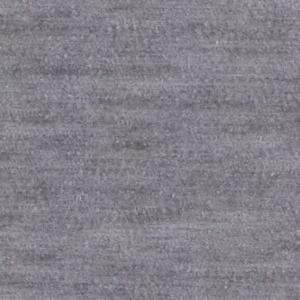
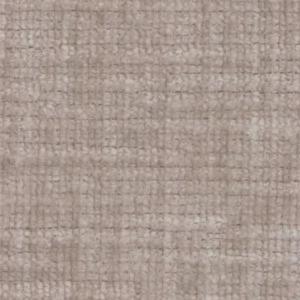
Family rooms and reading chairs near a fireplace benefit from tougher, tightly woven fabrics that resist pilling and abrasion over years of use. A grey or neutral grey chenille upholstery fabric is a dependable choice here, since the tonal texture hides everyday wear better than a smooth solid.
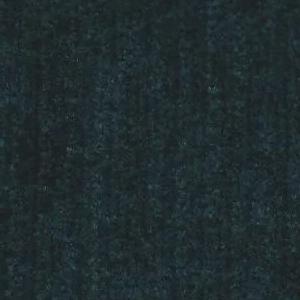
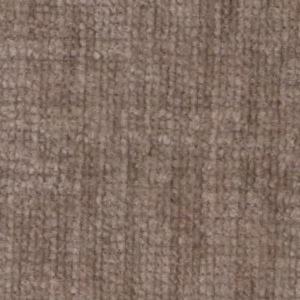
If the chair is more of a decorative accent piece in a formal living room, you've got more room to go bold with a rich velvet upholstery fabric or a deeper jewel tone that leans into the season's cozier color palette. Velvet gets a bad rap for being high-maintenance, but a synthetic or blended velvet with a good abrasion rating handles daily life just fine.
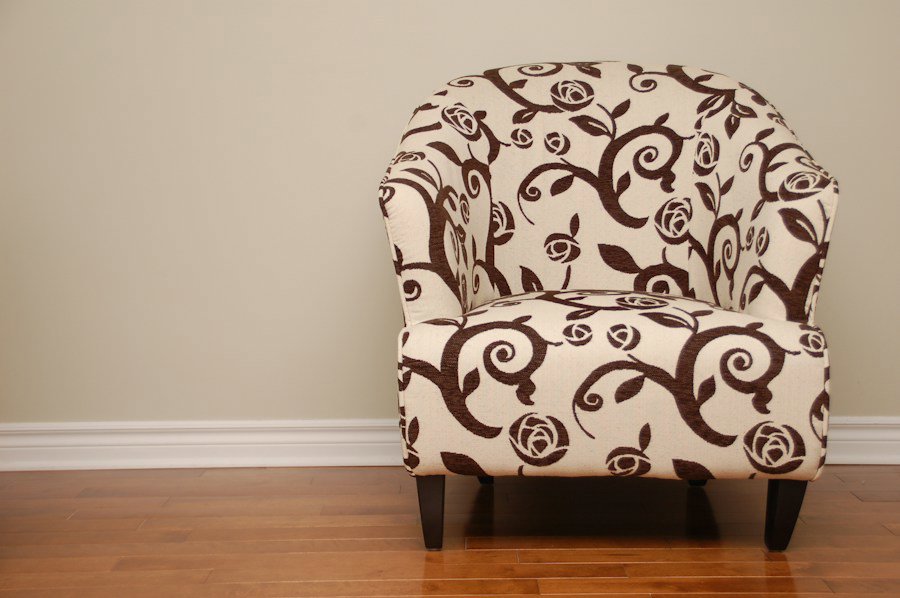
Photo by Hal Gatewood on Unsplash
Tips for a Professional-Looking Finish
- Always cut a test panel for the most curved section (usually the wing) before cutting your best fabric, especially with directional patterns or a large pattern repeat.
- Use a pneumatic staple gun if you can rent or borrow one. It's faster and gives more consistent staple depth than a manual gun, which matters over hundreds of staples.
- Keep a seam ripper and needle-nose pliers within reach at all times. You will need to pull a staple you just placed. Everyone does.
- Vacuum foam dust and old fabric fibers out of the frame crevices before installing new fabric. Trapped debris causes lumps you'll notice for years.
- If your fabric has any nap or pile, like velvet or corduroy, make sure every panel runs in the same direction so the color doesn't shift under different light.
Frequently Asked Questions
Q: How long does it take to reupholster a wingback chair?
Most DIYers spend 10 to 15 hours on a full wingback chair, spread across a weekend, with the wings and rolled arms taking up the largest share of that time due to the curved cutting and stapling involved.
Q: Can you reupholster a chair without removing the old fabric?
You can technically upholster over existing fabric in a pinch, but it's not recommended, since it traps odors, adds bulk that changes the chair's proportions, and hides frame or padding damage that should be repaired first.
Q: What is double welt trim and why use it on a wingback chair?
Double welt trim is two cords of fabric-covered piping sewn side by side and applied over seams to hide staples and raw edges. It's a traditional finishing detail on wingback and club chairs because it adds a tailored, upholstered-by-a-professional look to curved seams that would otherwise look unfinished.