
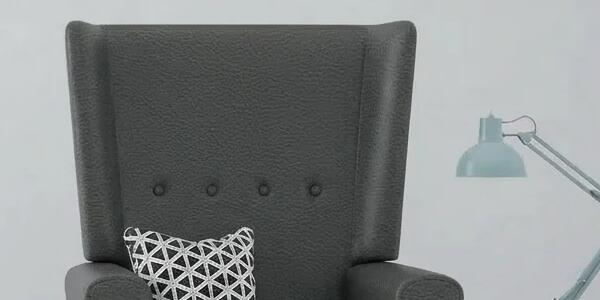
If you want to reupholster RV dinette cushions, fall is the perfect time to do it. The camper is parked, the campground season is winding down, and a few weekends at the kitchen table with a sewing machine can give you a dinette that looks better than the day it left the factory. This guide covers measuring angled foam, estimating yardage, using the old cover as a pattern, sewing boxed cushions, and figuring out whether DIY beats paying a pro.
Why Factory RV Upholstery Wears Out So Fast
Most factory RV upholstery is built to a price, not a lifestyle. Manufacturers often use lightweight polyester or thin vinyl laminates that look fine on the showroom floor and pill, crack, or stain after a few seasons of muddy paws, sunscreen, and wet swimsuits.
Here's the thing: a dinette is the hardest-working furniture you own. It's a table seat, a bed, a dog lounge, and a homework station, all in about 30 square feet. It deserves a fabric rated for that abuse.
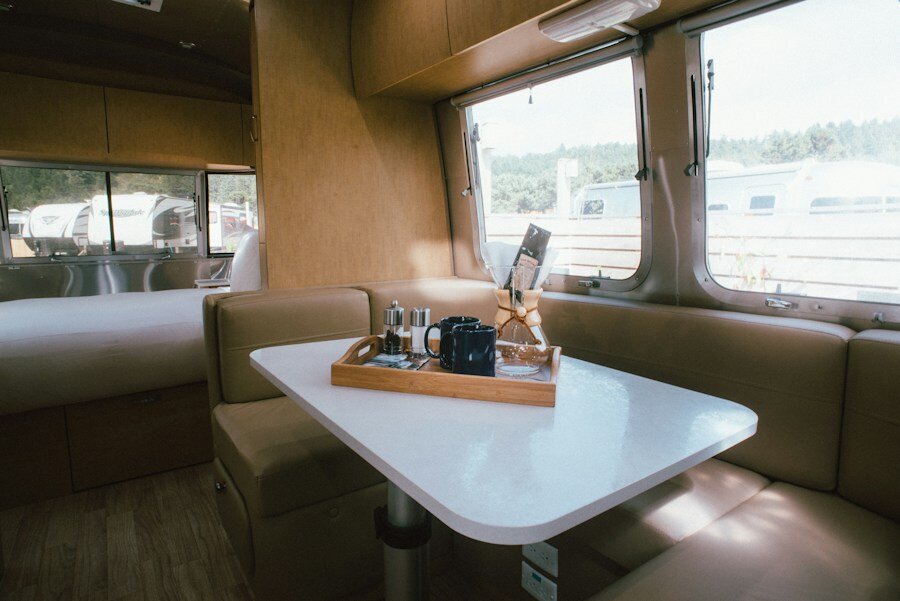
Photo by Blake Wisz on Unsplash
What Is the Best Fabric for RV Dinette Cushions?
The best fabric for RV dinette cushions is heavy-duty upholstery vinyl or faux leather rated at 30,000 or more double rubs. Both wipe clean, resist moisture, and hold up to pets, kids, and constant sliding in and out of the booth.
A double rub is one back-and-forth pass of a abrasion machine in the Wyzenbeek test (ASTM D4157). Residential-grade fabrics typically start around 15,000 double rubs, while commercial-grade vinyl often tests at 100,000 or more. Higher numbers mean the surface outlasts the foam underneath it. That's a long way past the thin stuff that comes standard in many RVs.
- Vinyl: Tough, budget-friendly, and easy to sanitize. Look for a knit or cotton backing so it sews and stretches smoothly over curves.
- Faux leather: Softer hand and a more upscale look. Browse our faux leather upholstery fabrics for options that still wipe clean in seconds.
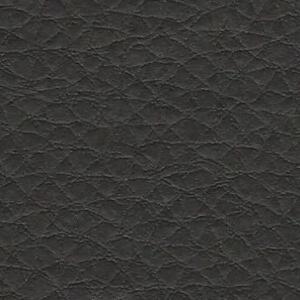
- Color: Darker shades hide dog hair and trail dust. Grey faux leather is a smart pick because it hides smudges and keeps a small space from feeling cave-like.
Honestly, the practical winner for most families is wipeable faux leather. Spills bead up instead of soaking in, and a damp cloth handles most of the mess.
Step-by-Step Instructions
- Photograph and label everything. Before you touch a seam ripper, take photos of each cushion from every angle. Mark each one with painter's tape (for example, "Dinette L back" or "Bench seat 2"). RV cushions often look identical but differ by half an inch, and mixing them up gets annoying fast.
- Measure odd-shaped and angled cushions. Measure length, width, and thickness at the widest points. For mitered corners, tapered ends, or curved bench ends, lay the foam on kraft paper and trace the outline. Then measure the boxing strip (the side band) around the full perimeter with a flexible tape. Write down every number twice.
- Estimate your yardage. Most vinyl and faux leather comes 54 inches wide. As a rough guide, a standard dinette (two bench seats and two backs) needs 8 to 12 yards, plus 1 to 2 extra yards for welting and mistakes. Add more if your cushions are very thick, because the boxing strip eats fabric quickly. When in doubt, sketch the pieces on paper at scale and fit them into a 54-inch width.
- Remove the old cover and use it as your pattern. Carefully pick out the stitching with a seam ripper. Press the old pieces flat on a low heat setting if the material allows it, or just weigh them down. Trace each piece onto paper or directly onto the back of your new fabric, adding a 1/2 inch seam allowance if the old pieces were cut to the stitch line. Note where zippers, piping, and corners sit.
- Check the foam before you sew. Press your fist into the center of each cushion. If it stays dented, crumbles at the edges, or smells musty, replace it now. It's far easier before the new cover goes on. More on that below.
- Cut the new fabric. Use sharp shears or a rotary cutter. Skip pins on vinyl, since they leave permanent holes. Hold layers together with binder clips or wonder clips instead. Cut the welting strips on the bias (diagonally) if you want them to curve smoothly around corners.
- Sew welting and the boxed cushion. Welting is the rope-like trim along the seam that adds structure and hides stitching. Wrap cord in a fabric strip and stitch it close to the cord with a zipper foot. Then attach the top and bottom panels to the boxing strip. Use a size 100/16 or 110/18 needle, bonded polyester thread, and a walking foot or Teflon foot to keep vinyl from sticking. Set your stitch length to about 3 to 4 mm.
- Add the zipper and stuff the cushion. Install a heavy-duty #5 or #8 zipper in the back boxing strip and extend it around two corners so the foam slides in easily. Wrap the foam in a layer of polyester batting for a smoother, fuller look. Slide a plastic bag over the foam first, then pull it out through the zipper opening once the cushion is inside. It's an old upholsterer's trick that saves your shoulders.
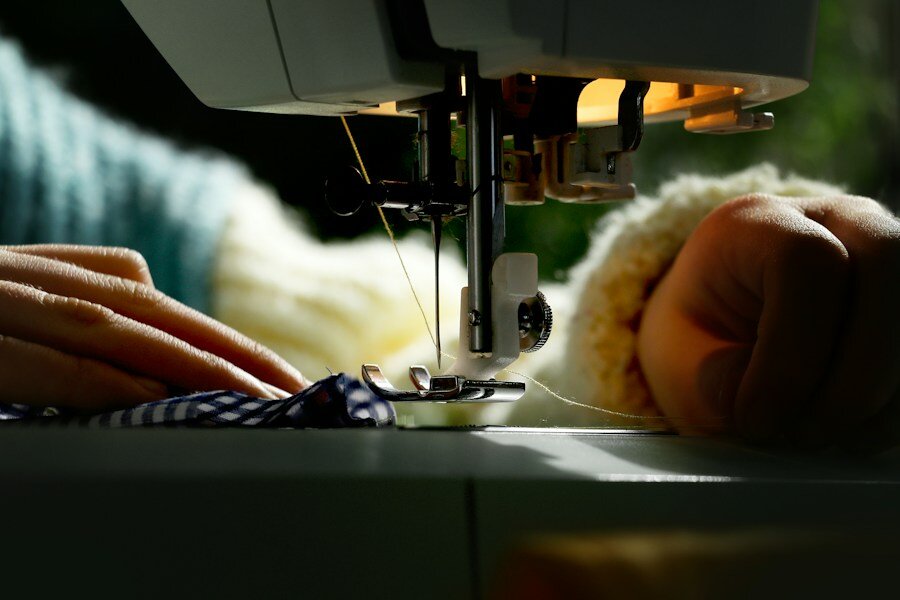
Photo by Pierre Bamin on Unsplash
When Should You Replace the Foam in RV Cushions?
Replace RV cushion foam when it stays compressed after you press it, feels flat in the seat center, or crumbles at the edges. A new cover on dead foam looks good for a week and then sags.
Look for high-density polyurethane foam rated around 1.8 to 2.5 pounds per cubic foot with an ILD (indentation load deflection, or firmness rating) of 35 to 50 for dinette seating. Backs can be a bit softer. Foam is cut to order by many online suppliers, and angled pieces can be cut from a template. Many RV owners go up one step in density from stock. It costs a little more, but the seat stays comfortable much longer.
If you're ordering new foam, make it about 1/2 inch larger than the old cover's inside dimensions on each side. The cover compresses it slightly, which gives you that crisp, tight edge instead of a floppy one.
Ready to see what's out there? These faux leather and vinyl-style options are easy to wipe, simple to sew, and tough enough for full-time campers:
Shop Faux Leather Upholstery Fabrics

How Much Does It Cost to Reupholster RV Cushions Yourself?
A DIY dinette reupholstery typically runs about $300 to $800 in materials, depending on fabric and foam, while an RV upholsterer often charges $1,500 to $4,000 or more for a full dinette and bench set. Prices vary by region and rig size, so treat these as ballparks.
- Fabric (8 to 12 yards): This is your biggest variable. Pick a fabric you love, not the cheapest one on the shelf, since you'll be looking at it for years.
- Foam: Replacing it all can add $150 to $500. If only a couple of cushions are worn out, replace those and save the rest.
- Supplies: Zippers, welting cord, thread, needles, and batting add about $50 to $100.
- Your time: Plan on two or three weekends for a first-timer. A pro does it in a day or two, which is what you're paying for.
Pay for a pro if your cushions have complex curved shapes, you don't own a heavy-duty machine, or you need the rig back quickly. For straight-sided cushions and a patient weekend, DIY saves real money. If you want a warm, camper-cabin look, brown faux leather pairs nicely with wood cabinetry and hides daily wear.
Tips for a Cleaner, Longer-Lasting Result
- Test a scrap first. Sew a short seam on leftover fabric to check tension and stitch length before touching the real pieces.
- Go a little undersized on the cover. A cover cut about 1/4 inch smaller than the foam on each side looks snug and professional.
- Use UV-resistant thread. RV windows bake the seating in summer. Bonded nylon or polyester thread outlasts cotton thread.
- Clean with mild soap and water. Skip harsh solvents, since they can dry out the vinyl surface and cause cracking.
- Consider black for pet-heavy rigs. Black faux leather hides dirt and scuffs better than light colors, and scratches buff out easily.
Frequently Asked Questions
Q: How much fabric do I need to reupholster an RV dinette?
Most RV dinettes need 8 to 12 yards of 54-inch-wide vinyl or faux leather, including extra for welting and mistakes. Measure every cushion, including the boxing strip, and sketch the pieces on paper to confirm your yardage before ordering.
Q: What is the most durable fabric for RV seats?
Heavy-duty vinyl or faux leather with a double rub count of 30,000 or higher is the most durable choice for RV seats. These fabrics resist moisture, wipe clean easily, and hold up to pets, kids, and daily use better than standard polyester.
Q: Can I reupholster RV cushions with a regular sewing machine?
Yes, if it can handle thick layers. Use a 100/16 or 110/18 needle, bonded polyester thread, and a walking foot or Teflon foot to feed vinyl smoothly. For very thick cushions or lots of layers, a heavy-duty or industrial machine makes the job easier.