

If you've ever sewn a laptop sleeve from quilting cotton and watched the corners wear thin after a month of gym bag duty, you already know the problem. A laptop sleeve from upholstery vinyl fabric solves it. Upholstery-weight vinyl is built to survive years on a sofa cushion, so it laughs at keys, spilled coffee, and the bottom of a backpack. This guide walks you through padding choices, seam techniques for thick material, and closures that actually work with stiff yardage.
Is Upholstery Vinyl Really Better Than Cotton or Canvas for Tech Bags?
Yes. Upholstery vinyl is engineered for constant friction and moisture exposure, which is exactly what a daily-carry bag needs. Quilting cotton and craft canvas were never designed for that job.
Here's the honest comparison. Most commercial-grade upholstery vinyl is rated for 100,000+ double rubs on the Wyzenbeek abrasion test, the industry standard for measuring how many rubbing cycles a fabric can withstand before it shows wear. Quilting cotton doesn't even get tested this way because it was never meant for heavy abrasion. Canvas fares a little better but still absorbs water, stains, and stretches out of shape over time. Vinyl is nonporous, so spilled lattes wipe right off instead of soaking into the fibers. If you've got kids, pets, or a habit of setting your bag down on wet sidewalks, that difference matters more than it sounds.
Vinyl also holds its shape. Cotton and canvas go limp and floppy after a few weeks of use, but vinyl's inherent body means your sleeve keeps its structure even when it's half empty in your backpack.
Photo by Marcus Urbenz on Unsplash
What's the Best Padding for a Vinyl Laptop Sleeve?
Closed-cell foam or dense quilt batting works best under upholstery vinyl. You want padding that absorbs impact without adding bulk that fights the stiff outer shell.
A few options, ranked by protection level:
- 5mm closed-cell foam: The gold standard for laptop protection. It's firm, lightweight, and doesn't compress permanently the way open-cell foam does.
- Fusible fleece plus batting: A budget-friendly combo that adds cushioning without much added weight. Good for camera bags where you need flexibility around lens shapes.
- Craft foam sheets: Cheap and easy to find, but they crack over time with repeated folding. Fine for a first project, not ideal for long-term daily use.
Whatever you choose, sandwich it between two layers, an inner lining fabric and the vinyl shell, rather than sewing it directly to the vinyl. Vinyl doesn't like being pinned or basted repeatedly since needle holes are permanent, so keep your test stitches to scrap pieces first.
Step-by-Step Instructions
- Choose your vinyl weight. Look for upholstery-weight vinyl between 12 and 18 oz per yard. Anything lighter behaves more like a shower curtain than a protective shell, and anything heavier gets tough to feed through a home machine.
- Cut your pattern pieces with a rotary cutter. Scissors drag on vinyl and can leave ragged edges. A rotary cutter and self-healing mat give you clean lines every time. Skip the pins entirely, they leave permanent holes. Use binder clips or washi tape to hold pieces in place instead.
- Cut and layer your padding. Trim foam or batting slightly smaller than your vinyl panels so it doesn't bunch up in the seams. Baste the padding to your lining fabric, not the vinyl.
- Switch to the right needle and foot. Use a size 90/14 or 100/16 leather or denim needle. Swap your standard presser foot for a walking foot or Teflon foot so the vinyl feeds evenly instead of sticking and puckering.
- Lengthen your stitch and lower the pressure. Set your stitch length to 3.0-3.5mm and reduce presser foot pressure if your machine allows it. Thick vinyl needs room to move without the machine dragging or skipping stitches.
- Sew the lining and padding assembly first. Construct your padded lining as its own unit, then treat it like a single layer when you attach it to the vinyl exterior. This keeps your seams from getting too thick to sew through at once.
- Join vinyl panels with a lapped or topstitched seam. Instead of a standard sewn seam pressed open, overlap the edges slightly and topstitch through both layers. This is the same technique upholsterers use on thick vinyl and faux leather, and it avoids bulky seam allowances that vinyl can't be pressed flat.
- Install your closure. For a zipper, use a separating or heavy-duty coil zipper and sew it before assembling the final panels. For a flap closure, attach hook-and-loop tape or magnetic snaps, which handle stiff vinyl far better than buttons.
- Reinforce stress points. Add a second row of stitching at corners and closure points. Vinyl is durable, but the thread is still the weak link if it's not doubled up where the bag flexes most.
- Finish edges with binding tape or a folded vinyl strip. This hides raw edges and gives the bag a clean, finished look that reads as store-bought rather than homemade.
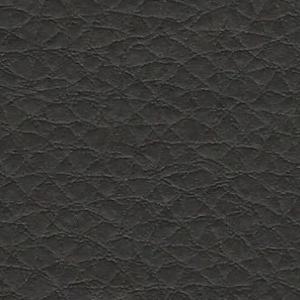
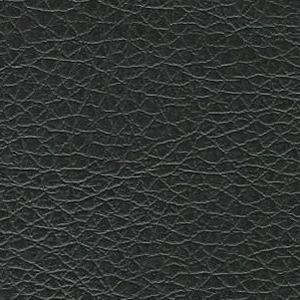
Once you've got the shell built, this is a great point to think about color and texture for the exterior. A lot of home sewists gravitate toward black vinyl upholstery fabric for tech bags because it hides scuffs and pairs with everything, but a rich brown reads more like a leather messenger bag if that's the look you're after.

Zipper or Flap: Which Closure Works Better on Stiff Vinyl?
Zippers give better weather protection and a more polished daily-carry look, while flap closures are easier to sew and more forgiving for beginners. Choose based on your skill level and how much water resistance you actually need.
Zippers create a nearly sealed edge, which matters if you're regularly caught in the rain or tossing your bag in the trunk. But sewing a zipper into thick vinyl takes practice since the coil has to align with a stiff, unforgiving fabric edge. A flap closure with magnetic snaps sidesteps that challenge entirely. You lose a little weather sealing at the top opening, but you gain speed and simplicity, which is worth it for a first project. Honestly, a lot of makers start with a flap and graduate to zippers once they've got a feel for how vinyl behaves under the needle.
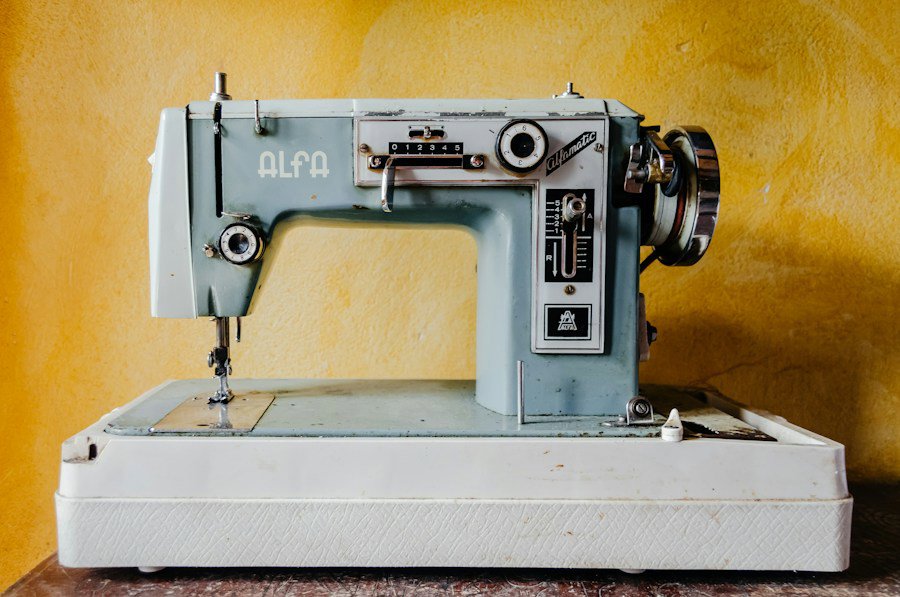
Photo by Juan Gomez on Unsplash
Tips for Working with Upholstery Vinyl
- Test your stitch settings on a scrap piece before touching your final panels. Vinyl doesn't forgive do-overs the way woven fabric does.
- Use a bit of tissue paper under and over the vinyl if it's sticking to your machine bed, then tear it away after sewing.
- Store vinyl fabric flat or loosely rolled. Folding it for months creates permanent creases that won't press out.
- Clean finished bags with a damp cloth and mild soap. No dry cleaning needed, which is one more reason vinyl wins over fussier fabrics for everyday gear.
- If you want a softer hand feel without losing durability, look at faux leather blends in the same vinyl upholstery fabric family, many are cotton-backed for easier sewing.
For anyone hunting for the right yardage, browsing the full range of colorways helps before you commit. Neutral tones from the grey upholstery fabric collection work well for camera bags that need to look professional, and if you're stocking up on remnants for multiple projects, the upholstery fabric sale section is worth checking regularly since vinyl offcuts move fast. If earthy tones fit your style better, the brown upholstery fabric options give you that classic leather-bag look at a fraction of the cost of actual hide.
Frequently Asked Questions
Q: Can you sew upholstery vinyl on a regular home sewing machine?
Yes, most home machines can handle upholstery vinyl if you use a leather or denim needle, a walking foot, and a longer stitch length. Heavier vinyl over 20 oz may require an industrial machine, but standard 12-18 oz upholstery vinyl works fine on most household machines.
Q: How do you keep vinyl fabric from sticking under the presser foot?
Use a walking foot or Teflon foot, or place tissue paper between the vinyl and the machine bed while sewing, then tear it away afterward. This prevents the drag that causes skipped stitches and puckered seams.
Q: Is vinyl fabric actually waterproof or just water-resistant?
Most upholstery vinyl is water-resistant rather than fully waterproof, since seams and stitch holes can still let moisture through. For true water protection, seal seams with a vinyl-safe seam sealant or add a fold-over flap that shields the closure from rain.