
Learning how to sew a fitted slipcover for a dining chair is one of the smartest budget moves a homeowner can make. Reupholstering a set of six chairs can cost well over a thousand dollars. A slipcover costs a fraction of that, takes a Sunday afternoon per chair or less once you've got the hang of it, and comes off for washing. With fall hosting season here and Thanksgiving gravy on the horizon, the timing is pretty perfect.
Why Sew a Fitted Slipcover for a Dining Chair Instead of Reupholstering?
A slipcover is cheaper, faster, and removable. You skip the staple gun, the tear-out, and the foam replacement, and you can swap the fabric whenever your style or your kids' aim changes.
Here's the thing: reupholstering is permanent, and permanent is a big commitment for a surface that gets syrup, red wine, and the occasional dog nose. A slipcover treats the chair as a form and puts the wear on a layer you can launder or replace. Renters love it because nothing on the original chair is altered. Families love it because a spare cover in the closet means a stain never ruins dinner.
A well-made slipcover can also hide a dated or damaged seat completely. That scratched finish or faded floral you inherited? Gone by dessert.
Photo by Brian Wangenheim on Unsplash
What Is the Best Fabric for a Dining Chair Slipcover?
The best fabric is a tightly woven, medium-weight upholstery fabric rated for at least 15,000 double rubs. Dining chairs take constant sliding, scooting, and scrubbing, so abrasion resistance matters more than softness.
A double rub is one back-and-forth pass in the Wyzenbeek abrasion test. Residential upholstery is generally considered suitable for general use at around 15,000 double rubs, and heavy-duty fabrics reach 30,000 or more. If a fabric is tested by the Martindale method instead, look for 20,000 cycles or higher for hard-working seating. Seams and hems wear first, so a fabric that resists fraying and pilling saves you from a mid-year repair.
Here are the fabrics that behave best for slipcovers:
- Woven fabrics. A dense weave holds its shape, sews cleanly, and shrugs off snags. Browse woven upholstery fabrics if you want a structured cover that looks tailored.
- Chenille. Honestly, chenille upholstery fabric is criminally underrated for family homes. It's soft, hides crumbs in its texture, and has enough body to stay smooth over a seat.
- Faux leather. For the messiest households, faux leather wipes clean in seconds. It doesn't fray at the edges, though it needs a heavier needle and a longer stitch.
- Cotton and linen blends. They're easy to wash but can wrinkle and shrink, so prewash them. Cotton can shrink 3 to 5 percent on the first wash.
Skip very stretchy, thin, or loosely woven fabrics. They bag out at the knees of the seat and sag after a few weeks. Solution-dyed acrylic and polyester blends are strong choices for fade and stain resistance, since the color runs through the whole fiber instead of sitting on the surface.
How Much Fabric Do You Need for a Dining Chair Slipcover?
Most standard dining chairs need about 1 to 1.5 yards of 54-inch-wide fabric for a fitted cover, and roughly 1.5 to 2 yards if you add a skirt. Measure your own chair to be sure, since back height and seat depth vary a lot.
Measure the seat width and depth, the back height from the seat to the top, and the back width at its widest point. Add 2 inches to each measurement for seam allowances and ease. If you want piping, add a half yard of fabric for bias strips. If you're using a patterned fabric, buy extra so you can center the motif on the back panel. A good rule from the sewing room: buy a little more than you think, because you can't un-cut a panel.
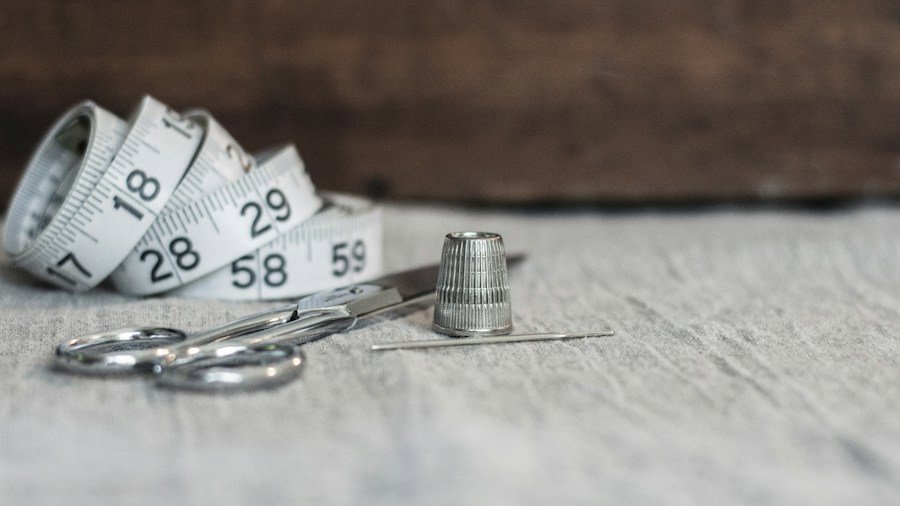
Photo by Debby Hudson on Unsplash
Step-by-Step Instructions
Gather your tools first: muslin or an old bed sheet for the pattern, pins, fabric chalk, a seam ripper, a heavy-duty needle (size 90/14 or 100/16), polyester thread, scissors, and a sewing machine with a zipper or walking foot if you have one.
- Measure the chair and note its shape. Record the seat width, seat depth, back height, and back width. Check whether the back is straight, curved, or slatted, and whether the seat is a drop-in cushion or fixed. Snap a photo and jot the numbers beside it.
- Drape a muslin pattern directly on the chair. Lay the muslin over the back and seat, smooth it flat, and pin it along every edge and corner. Draw the seam lines with chalk. This is the most important step. Patterning on the actual chair beats any formula.
- Mark, trim, and add seam allowance. Remove the muslin, mark the grain direction, and label each piece: inside back, outside back, and seat. Add a half-inch seam allowance on all sides. Cut the pieces from your fabric with the grain running vertically on the back so it hangs straight.
- Make piping, if you want it. Cut bias strips about 1.5 inches wide, wrap them around 5/32-inch cord, and stitch close to the cord with a zipper foot. Baste the piping to the right side of the seat panel and inside back panel along the edges that will be seamed. Clip the seam allowance at curves so it lies flat.
- Sew the back panels. Join the inside and outside back along the top and sides, right sides together. For an open back, hem the lower edge of the outside back and leave the bottom open so the cover slides over like a pillowcase. For ties, sew four fabric ribbons into the lower side seams so you can knot the cover snug around the back legs.
- Attach the seat panel. Pin the seat panel to the bottom of the inside back panel, right sides together, and sew. Press the seam toward the seat. Use a 3 mm stitch length, or slightly longer for thick fabrics, and backstitch at every start and finish. Seams need to hold up to repeated scooting.
- Add the skirt. Cut a skirt panel at the length you want, usually 4 to 8 inches above the floor, plus a 1-inch hem allowance. For a tailored look, make four panels with box pleats or a kick pleat at each corner. Sew the skirt pieces together, hem the bottom, and attach the skirt to the seat panel's lower edge, sandwiching the piping between the layers.
- Fit, adjust, and finish. Slide the cover onto the chair and check for puckering or looseness. Pin and re-sew any seams that are too tight or baggy. Finish raw edges with a zigzag stitch or serger, and press the cover. Slip it over the seat and tie the ribbons or smooth the open back.
How Do You Add Piping and a Skirt Without Making It Look Homemade?
Keep the piping cord thin, the bias strips consistent, and the skirt hem even. Those three details separate a polished slipcover from a craft-fair casualty.
Use a contrasting color for piping if your fabric is a solid, since it outlines the chair's silhouette like a tailored jacket. If your fabric is bold or patterned, match the piping to the background so the pattern does the talking. A skirt should skim the floor without dragging, because dragging hems fray and gather pet hair. Press every seam as you go. As any tailor will tell you, pressing is half of sewing.
For pet owners, consider skipping the skirt on the back panel and using a shorter, tailored hem. Less fabric near the floor means less to shred, chew, or lint-roll.
How Do You Fit a Slipcover Over an Existing Seat?
A fitted slipcover goes over the seat as it is, so build in about a half inch of ease around the cushion and secure the cover with ties, Velcro tabs, or a snug open-back design. Don't remove the old upholstery unless it's badly damaged.
If the existing seat is a drop-in cushion, you can make a separate seat cover and slip it on in seconds. This is a lifesaver for holiday dinners, when you might want a festive rust-colored cover for Thanksgiving and a neutral one the rest of the year. Check that the cover doesn't ride up when someone sits down. If it does, add a strip of non-slip shelf liner under the seat panel, or sew a drawstring hem to cinch it.
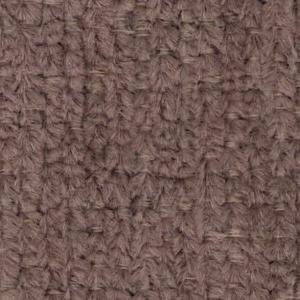
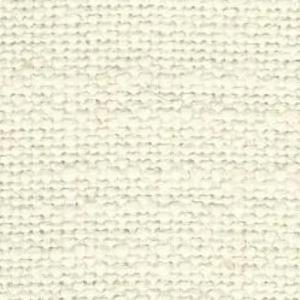
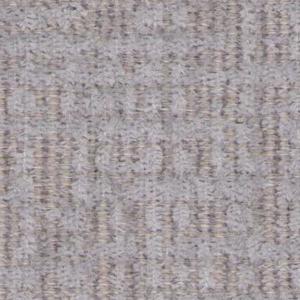
Looking for ideas for your next set? These textured upholstery fabrics make covers that look custom and wash up beautifully:
Shop All Upholstery Fabrics
Tips for a Slipcover That Lasts
- Prewash your fabric. Wash and dry it the way you'll care for the finished cover. This prevents shrinking and a too-tight fit later.
- Reinforce stress points. Double-stitch the corners of the seat and the base of the back, where friction is highest.
- Use polyester thread. It's stronger than cotton thread and resists mildew and abrasion at seams.
- Test a swatch first. Spill a little water, scrub it, and run it through a wash to see how it behaves. Ten minutes now can save you a ruined cover.
- Watch for sales. You can find durable options in the upholstery fabric sale section, which stretches your budget across a whole set of chairs.
- Make two covers per chair. One on, one in the wash. Your future self, mid-pumpkin-pie-spill, will be grateful.
Frequently Asked Questions
Q: What fabric is best for a dining chair slipcover?
A tightly woven upholstery fabric rated at 15,000 double rubs or more is best for a dining chair slipcover. Woven fabrics, chenille, and faux leather hold their shape and resist wear at the seams and hems, and they're easier to clean than loose or stretchy fabrics.
Q: How long does it take to sew a fitted slipcover for a dining chair?
Most beginners finish a fitted dining chair slipcover in 3 to 5 hours, including patterning and cutting. Once you've made the first pattern, additional covers take about 1 to 2 hours each, so a set of six chairs can be done over a weekend or two.
Q: Can you machine wash a dining chair slipcover made from upholstery fabric?
Yes, many upholstery fabrics can be machine washed on a gentle cycle in cold water, then air-dried or tumble-dried on low. Always prewash your fabric before cutting, and check the manufacturer's care code. Faux leather and vinyl should be wiped clean instead of laundered.