
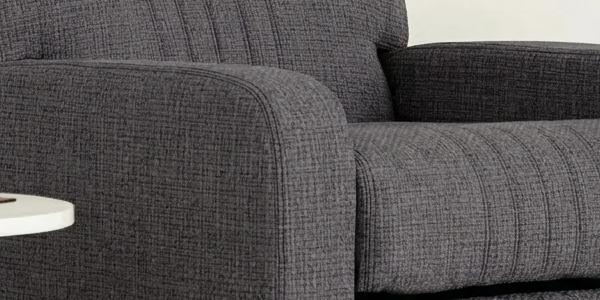
A hanging entryway organizer is the fastest way to tame the fall pile-up of jackets, backpacks, dog leashes, and loose mail. It's also a project where fabric choice decides everything. Store-bought canvas caddies sag by Halloween, and quilting cotton gives up even sooner. Upholstery fabric, built to survive years of people sitting on it, handles a week of wet umbrellas and overstuffed school bags without complaint. This guide walks you through cutting, reinforcing, sewing, and mounting a 24 by 36 inch wall organizer with five pockets and a hook rail.
Why Use Upholstery Fabric for a Hanging Entryway Organizer?
Upholstery fabric is rated for abrasion and heavy loads, while quilting cotton is not. A fabric with a high double rub count resists wear, fraying, and stretching under the daily tug of keys, leashes, and wet gear.
A double rub is one back-and-forth pass of a testing machine across the fabric. In the Wyzenbeek test (ASTM D4157), general residential upholstery is commonly rated around 15,000 double rubs, and heavy-duty or commercial fabrics reach 30,000 or more. Quilting cotton is made for quilts and shirts, so it doesn't carry an upholstery abrasion rating. It's also light and loosely structured, which means pockets bag out and seams pull.
Here's the thing: an entryway is a high-traffic zone in miniature. Pockets get stuffed, yanked, and reloaded several times a day. Tight weaves and vinyl-faced fabrics hold their shape, shrug off damp umbrella drips, and wipe clean after muddy paws. That matters for homeowners with kids and pets, because the best organizer is the one you never have to replace.
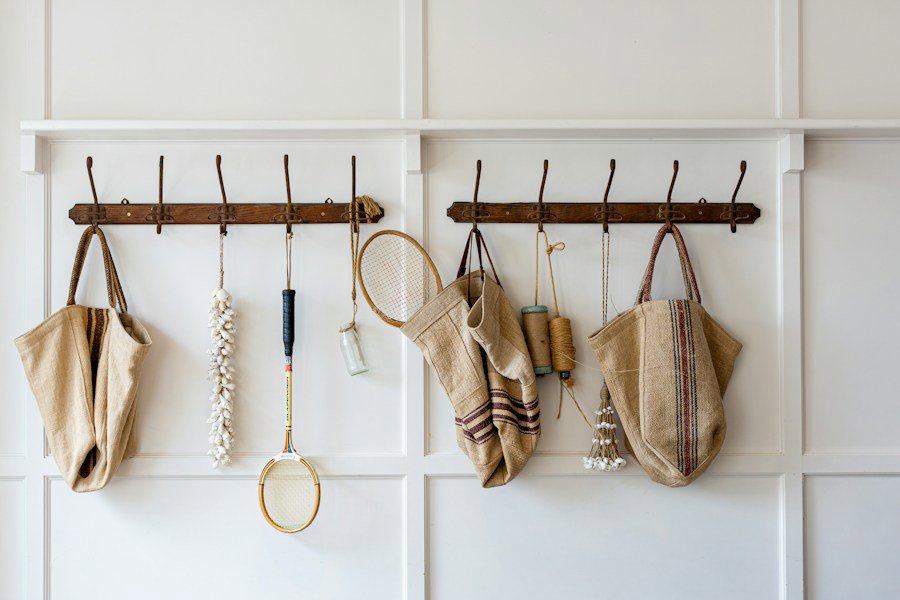
Photo by Luisa Brimble on Unsplash
What Is the Best Fabric for a Wall Pocket Organizer?
The best fabric is a tightly woven or vinyl-faced upholstery fabric with at least 15,000 double rubs and a medium to heavy weight. Dense weaves and faux leather keep pockets crisp and resist snagging.
- Woven upholstery fabric. A dense weave won't fray as quickly or sag under load, and the texture hides scuffs. Browse the full range of woven upholstery fabrics to compare weights and patterns.
- Faux leather or vinyl. Raw edges don't unravel, and spills wipe right off. Our faux leather upholstery fabrics work well for pocket-heavy builds, though they need a bit more care while sewing.
- Chenille and velvet. They feel great but show crushing and wear lines at stress points. Save them for decorative trim, not the main pockets.
Color is a practical choice too. Fall palettes lean toward chocolate, rust, olive, and warm neutrals, and those shades also hide dirt. A brown woven upholstery fabric looks warm on a mudroom wall and forgives wet-boot splashes. If your entry is modern and cool-toned, grey woven upholstery fabric hides lint and dog hair beautifully.
One quotable rule of thumb: for a wall-mounted organizer, fabric weight and weave density matter more than softness, because pockets fail at the seams long before the surface wears out.
What Do You Need to Sew a Heavy-Duty Entryway Organizer?
You need about 1.5 yards of 54 inch wide upholstery fabric, heavy-duty thread, a size 100/16 or 110/18 needle, and mounting hardware rated for the load. That covers a 24 by 36 inch organizer with five pockets.
- Fabric: 1.5 yards of 54 inch upholstery fabric. This fits the back panel, two bottom pockets, and three smaller pockets with scraps to spare. Add a half yard if you're matching a pattern.
- Thread: bonded polyester or nylon, size 69 (Tex 70). Regular all-purpose thread snaps under strain.
- Needle: denim or upholstery needle, 100/16 or 110/18.
- Edge finishing: 3 yards of 1 inch twill tape or double-fold binding.
- Reinforcement: 1 yard of 2 inch polypropylene or cotton webbing.
- Hardware: three heavy-duty grommets (size #4 or larger), a 24 inch wooden hook rail with three hooks, and screws or toggle anchors.
- Tools: walking foot, clips (not pins), chalk, ruler, and a hammer for flattening seams.
Short on budget? Check the upholstery fabric sale for remnants and end-of-roll deals. A project this size doesn't need much.

Photo by Alexander Andrews on Unsplash
Step-by-Step Instructions
- Cut your pieces. Cut the back panel 25 by 37 inches (you'll trim it to 24 by 36 after sewing). Cut two bottom pockets at 12.5 by 12 inches and three smaller pockets at 12.5 by 10 inches. The extra width gives about half an inch of ease per side so pockets can expand around a bulky umbrella. Cut one 24 inch strip of webbing for the top reinforcement. Use a rotary cutter or sharp shears, and cut with the fabric flat so the grain stays square.
- Bind the pocket tops. Thick fabric makes a double-folded hem bulky and uneven. Wrap each pocket's top edge in twill tape or double-fold binding instead, and topstitch close to the edge. On faux leather or vinyl, you can skip the binding on cut edges, but a topstitched fold adds strength where hands pull most. Finish the other raw edges with a zigzag stitch or serger on woven fabric so they won't fray inside the seam.
- Reinforce the back panel. Sew the webbing across the top of the back panel, 1 inch from the edge, with a wide box-and-X pattern at each end. This distributes weight across the full width instead of letting it tug at three grommet holes. Also add a second layer of the same fabric, about 3 by 24 inches, behind the webbing if your fabric is on the lighter side.
- Mark pocket positions. Using chalk, measure from the bottom. Place the two bottom pockets with their lower edges 1 inch up, each finishing at 10.5 inches wide with 1 inch margins and a 1 inch gap between them. Place the three smaller pockets, two in one row and one centered above, starting 1 inch above the bottom pockets. Leave the top 12 to 16 inches clear for the hook rail and hanging coats.
- Sew the pockets on. Clip each pocket in place instead of pinning, since pins leave permanent holes in vinyl and can slip in dense weaves. Fold a small pleat (about half an inch) into the bottom corners for room. Stitch sides and bottoms with a walking foot at a 3.5 to 4 mm stitch length, which grips thick fabric better than short stitches. At the top corners of each pocket, sew a small rectangle or bar tack, because those corners take the most pull.
- Flatten the thick seams. Where several layers meet, tap seams flat with a hammer before sewing over them. Hammering compresses the fibers so your needle doesn't deflect or break. Sew slowly over thick junctions and turn the handwheel by hand if the machine hesitates.
- Bind the outer edges. Trim the back panel to 24 by 36 inches. Wrap all four edges in twill tape or binding, mitering the corners, and stitch through every layer. Fraying on thick fabric starts at corners, so tidy ones matter. Clip, don't pin, and take your time. A neat edge is the difference between homemade and handmade.
- Add grommets and mount the rail. Install three grommets through the webbing, one near each top corner and one centered, following the grommet kit's instructions. Screw the hook rail into wall studs first, then hang the organizer by driving screws through the grommets above or at the rail, with washers under the screw heads. If you can't hit a stud, use toggle anchors rated for at least 50 pounds each.
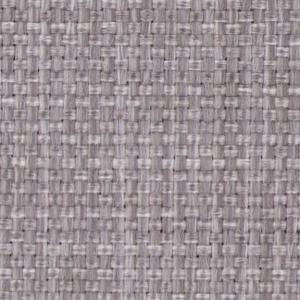
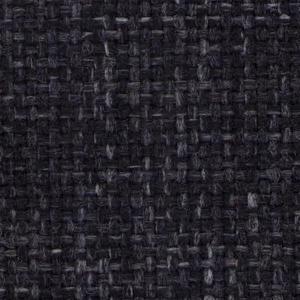
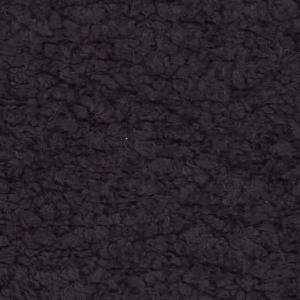
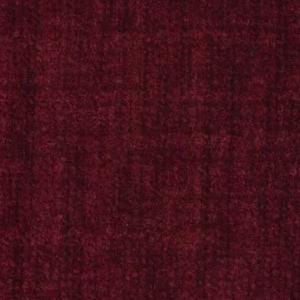
Ready to pick a fabric? The woven and faux leather options above are a strong starting point. Here are a few real fabrics from our collection that would suit this project.
Tips for a Organizer That Won't Sag
- Mount into studs, always. A loaded organizer with coats on the rail can easily reach 15 to 20 pounds. Drywall alone won't hold that. Standard studs sit 16 inches apart, so a 24 inch rail catches at least one, and often two.
- Size pockets for the real stuff. A standard #10 envelope is 9.5 by 4.125 inches, so a 10.5 inch wide pocket holds mail upright. Folded umbrellas and leashes need the 10 inch tall bottom pockets.
- Check the cleaning code. Upholstery fabrics usually carry a code: W (water-based cleaner), S (solvent), WS (either), or X (vacuum only). Pick W or WS if you've got kids and pets, and wipe vinyl with a damp cloth.
- Test your stitching first. Sew a scrap with the same layers before committing. If the machine skips stitches, switch to a bigger needle.
- Use a solid when in doubt. Solid upholstery fabrics make pocket placement forgiving, since you won't have a pattern to match.
- Cut with the grain. Align the back panel's length with the fabric's warp (the lengthwise threads), because they stretch less under vertical loads.
Frequently Asked Questions
Q: What is the best fabric for a hanging entryway organizer?
The best fabric is a tightly woven or vinyl-faced upholstery fabric rated for at least 15,000 double rubs. These fabrics resist sagging, fraying, and tearing under heavy daily loads, and they clean up easily after wet umbrellas and muddy gear.
Q: How much fabric do I need for a wall pocket organizer?
You need about 1.5 yards of 54 inch wide upholstery fabric for a 24 by 36 inch organizer with five pockets. Add another half yard if you want to match a pattern or add a lining.
Q: Can I sew upholstery fabric on a regular home sewing machine?
Yes, most home machines can sew upholstery fabric with the right setup. Use a size 100/16 or 110/18 needle, bonded polyester thread, a walking foot, and a longer stitch length of 3.5 to 4 mm, and sew slowly over thick seams.